
Water Quality Analyzer Troubleshooting: A Step-by-Step Order
Effective water quality analyzer troubleshooting follows one order: check the sample, then the sensor, then calibration, then the signal path, and only then electrical interference. That sequence runs from the most likely cause to the least likely, and from the cheapest check to the most involved. On most plants, water quality analyzer troubleshooting finds the fault in the first two steps. This guide is for instrument technicians at drinking water plants, wastewater plants and industrial water systems, and it applies to pH, ORP, chlorine, turbidity and conductivity analyzers alike.
Before water quality analyzer troubleshooting: is the reading really wrong?
A lot of "inaccurate sensor readings" are really comparison errors. The grab sample came from a different point or a different moment, or the handheld meter used as the reference was never calibrated itself.
Do three things before you pick up a tool:
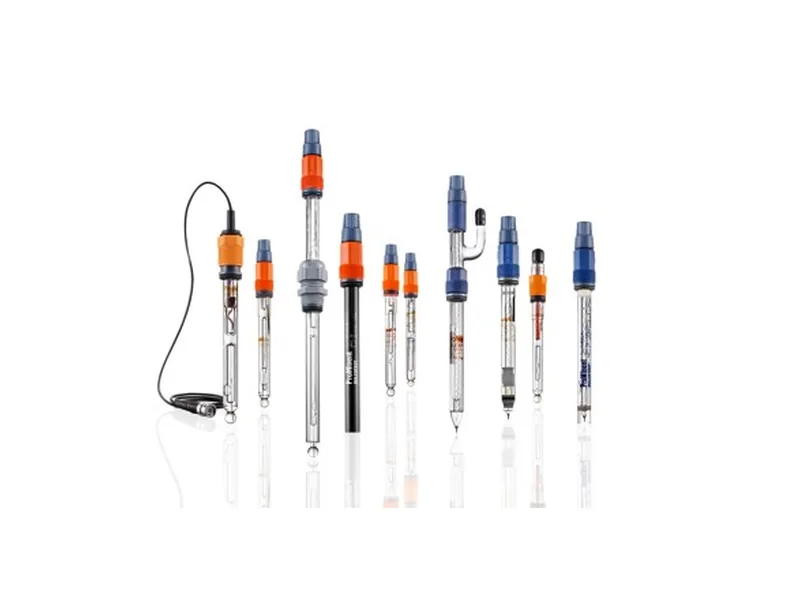
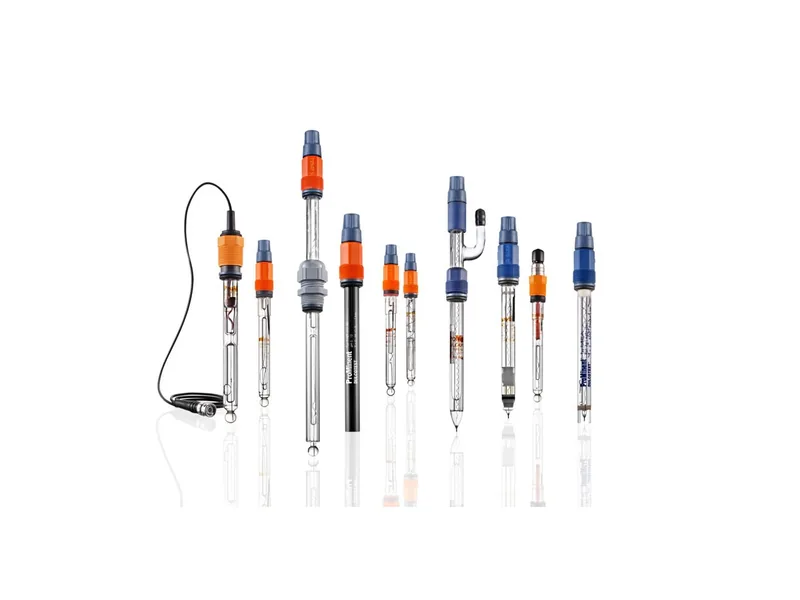
Figure 1: ProMinent DULCOTEST pH sensors. Image source: ProMinent official website
- Take the grab sample at the flow cell outlet or the tap right beside the sensor.
- Confirm that your portable meter or lab method is reliable.
- Pull up the trend and decide whether the value is offset, drifting, jumping or frozen.
The shape of the trend is your first clue. A steady offset usually points to calibration. Slow drift suggests fouling or an aging electrode. Sudden jumps often come from bubbles, flow loss or interference. A frozen value raises suspicion of a broken cable or a dead sensor.
Step 1 of water quality analyzer troubleshooting: the sample
Check the flow meter or flow switch on the flow cell and make sure flow is within the sensor's range. Look for a blocked inlet strainer and sample lines lined with algae or silt. Amperometric chlorine and chlorine dioxide sensors are especially flow sensitive, so any change in flow changes the reading.
Look for bubbles too. In a clear flow cell you can see them clinging to an electrode membrane, and a single bubble in a turbidity light path makes the value jump. Also ask whether the measuring point is representative. Right after a dosing point, at the top of a pipe or in a dead leg, the sensor sees water that does not match the process.
Step 2 of water quality analyzer troubleshooting: the sensor
If the sample is fine, remove the sensor and inspect it.
- pH and ORP electrodes: scale or oil on the glass, a blocked or darkened reference junction, cracks.
- Membrane chlorine and dissolved oxygen sensors: torn, wrinkled or fouled membranes, and electrolyte that is due for replacement.
- Optical turbidity and suspended solids sensors: biofilm or scale on the windows.
- Conductivity cells: deposits on the electrode surfaces.
Clean according to the manual and do not scrape a membrane with anything hard. When an electrode responds slowly and its slope stays low after cleaning, it has reached end of life, and a new one is cheaper than endless recalibration. ProMinent DULCOTEST pH sensors are a good reminder of why sensor choice matters here. The range offers different constructions for different measuring tasks, and ProMinent points out that every glass sensor starts to age as soon as it leaves production, so do not stockpile spares for years. A sensor that does not fit the duty fouls and ages faster, and good water quality analyzer troubleshooting asks whether the sensor type fits the job.
Step 3: calibration checks
If the sensor looks healthy but the offset persists, water quality analyzer troubleshooting moves on to calibration. Expired, contaminated or long-opened buffer solutions produce wrong calibrations. Confirming before the electrode has stabilized, or running without temperature compensation, adds more error. Read the calibration log too. If slope and zero get worse every time, the electrode is aging.
For the procedure itself, see how to calibrate an online pH analyzer, and for routine care read online water quality analyzer calibration and electrode maintenance.
Step 4: the signal path
If the transmitter display is correct but the PLC or SCADA value is not, the problem lies in between. Measure the 4-20 mA current at the transmitter output and at the PLC input with a multimeter or loop calibrator, and compare. Check that both ends use the same range. Someone changing the analyzer range without updating the PLC scaling is a common cause in water quality analyzer troubleshooting. Loose terminals or wet cables make the signal come and go. For fieldbus connections, verify address, baud rate and data format.
Step 5: interference
Interference is the last stop in water quality analyzer troubleshooting, so only chase it after all of the above. Signal cables sharing a tray with VFD or motor power cables pick up noise that jumps with equipment starts and stops. Stray potentials in the sample water make pH and ORP drift. Use shielded cable grounded at one end, separate signal and power routing, add potential equalization in the flow cell, and fit a signal isolator where needed. Typical bubble and noise patterns on turbidity are covered in turbidity meter reading fluctuation.
Protecting the dosing loop while you troubleshoot
A wrong reading drives a wrong dose. Read low and the pump overfeeds; read high and it underfeeds or stops. Switch the metering pump to manual at a known safe rate before water quality analyzer troubleshooting begins, and return to automatic only when the analyzer agrees with lab results. Good control logic alarms on frozen or out-of-range values and freezes the loop automatically. Close the sample valve and relieve pressure before removing a sensor, and wear gloves when handling buffers and electrolyte.
Conclusion
Water quality analyzer troubleshooting is fastest when you follow the order: sample, sensor, calibration, signal, interference. Do the cheap, likely checks first, keep dosing on manual while you work, and verify against lab results before closing the loop again. If a sensor or analyzer needs replacing, browse our pH and ORP instruments and the ProMinent product lineup, or send the parameter and the symptoms and contact our engineers.
FAQ
How large a difference from the lab counts as inaccurate?
There is no single figure. Use your plant's instrument rules or the accuracy stated in the manual, and investigate when the gap stays outside it.
The analyzer drifted again a few days after calibration. Why?
Usually fast fouling or an aging electrode, sometimes bad buffer. Recalibrate with fresh buffer first, then inspect the electrode.
The value has not moved for hours. Is the analyzer broken?
Check for lost flow, a broken cable or a transmitter left in hold mode before blaming the sensor.
Can I mute the alarm and keep running during water quality analyzer troubleshooting?
Not with the loop in automatic. Switch dosing to manual and add manual lab checks until the analyzer is trusted again.
Several parameters on one controller are wrong at once. Where does water quality analyzer troubleshooting start?
Start with what they share: sample flow, flow cell grounding and controller power.