
Plunger Pump Installation: Location, Base and Leakage Control
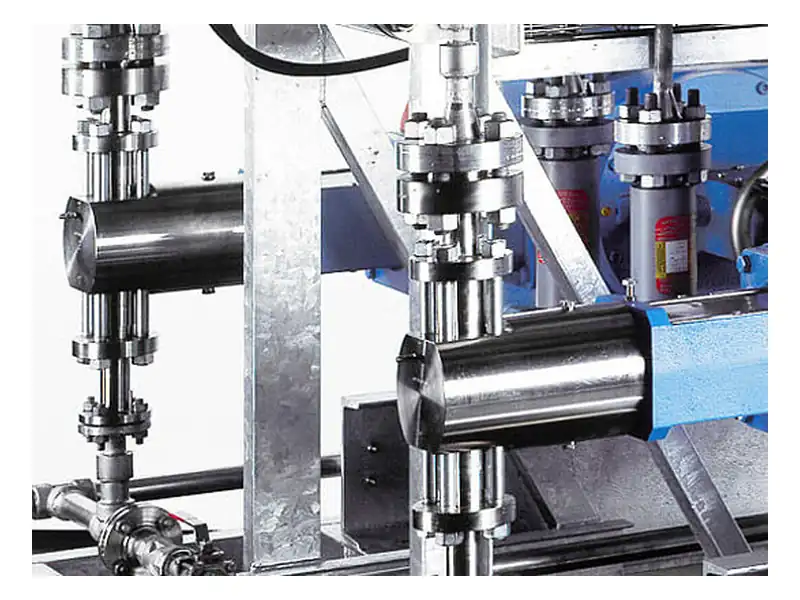
A good plunger pump installation starts with three facts: the plunger is sealed by packing that leaks a little by design, these pumps usually run at higher pressure than diaphragm units, and they want a flooded suction. Get the location, the base and the leakage path right, and most start-up trouble never shows up.
This guide is written for installers and plant engineers. We use a packed plunger metering pump such as the LEWA ecoflow plunger design as the example, but the same logic applies to most packed plunger heads.
Choosing the Location for a Plunger Pump Installation
Close to the tank, below the liquid level
Plunger heads typically depend on a positive suction head. Put the pump next to the chemical tank with the inlet below the lowest working level. A short suction line means less acceleration loss on every stroke, so the pump is less likely to cavitate at high stroke rates. If you are used to diaphragm pumps, our note on suction lift for diaphragm pumps explains the basics; a plunger pump installation is generally less forgiving.
Leave room on the packing side
Adjusting the gland and replacing the packing are routine jobs. The stuffing box side needs space for a wrench and a clear view of the leakage. We have seen a pump mounted with its packing gland a hand's width from a wall. Every repack meant unbolting the whole unit and dragging it out.
Keep it away from electrics and give it a drain
Packing leakage ends up on the floor. Do not place the pump under or beside an electrical panel. A bund and a floor drain under the pump make life easier, and corrosive leakage should go to a neutralisation pit or a collection drum.
Base and Anchoring for Plunger Pump Installation
A plunger pump has noticeable reciprocating forces, and vibration grows with pressure. The base is the part of a plunger pump installation that people most often try to cut corners on.
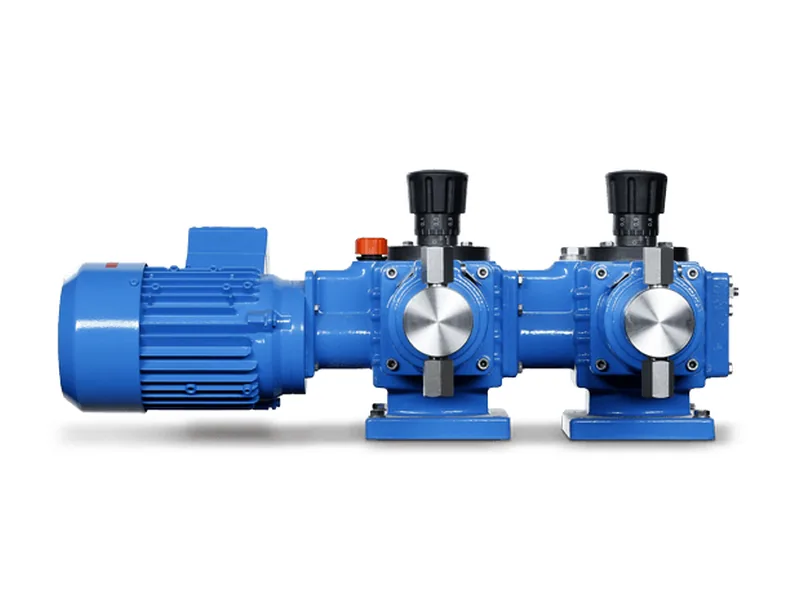
Figure 1: LEWA ecoflow packed plunger head. Image source: LEWA official website
- Build a concrete plinth or a steel frame sized from the maker's installation drawing, and level the top.
- Grout the anchor bolts into pockets and tighten only after the grout has cured.
- Align pump and motor, then recheck coupling alignment as the manual requires.
- Use anti-vibration pads if specified, but never so soft that the pump rocks.
An uneven base or loose anchor bolts will shake the discharge fittings loose within days.
Plunger Pump Installation: Suction and Discharge Piping
The suction pipe should be no smaller than the pump inlet, with as few bends as possible and a strainer at the low point. On the discharge side, a relief valve is mandatory. With a plunger head, pressure climbs very fast if someone closes a downstream valve. Use stainless steel tubing for high-pressure discharge lines and support it with plenty of clamps so the weight and vibration of the pipe do not hang on the pump head.
Fit the pulsation dampener as close to the discharge as you can. Multi-head and high-pressure units pulse harder, and a dampener noticeably calms the piping. Put the pressure gauge after the dampener so the reading is steady.
Handling Packing Leakage
Packing leakage is part of how a packed plunger works. A small drip lubricates and cools the packing; over-tightening burns the packing and scores the plunger. During plunger pump installation you should:
- Connect a leakage collection line under the stuffing box and route it to a drum or back to the tank.
- Connect flushing water where the head has a flush port, following the manual.
- Watch the leakage rate on the first run and tighten the gland in small steps, as the manufacturer describes.
For the repacking procedure itself, see packing replacement on a dosing skid.
Three Mistakes We Keep Seeing
The pump buried inside a skid. To save floor space, skids often pack several pumps side by side with the stuffing boxes facing inward. It looks neat on the drawing. When the packing needs attention, the technician works sideways with one arm and cannot see the gland bolts. Decide the orientation of the packing side during design, as part of the plunger pump installation layout.
Leakage nobody looks after. A plastic tray under the pump is not a collection system. Once it fills, chemical spreads across the floor and slowly eats the baseplate and anchor bolts. Run a rigid drain line and give the drum a level alarm or put it on the shift checklist.
The third one is a relief valve with nowhere sensible to discharge. When the valve lifts, it releases high-pressure chemical. Pipe the outlet back to the tank or a drum, keep it away from walkways, and do not tie it into the suction line, which heats the suction side and brings gas out of solution.
Check all three during acceptance. It is far cheaper than reworking a plunger pump installation after commissioning.
First Start After Plunger Pump Installation
Check the gearbox oil level and turn the pump by hand to confirm the plunger moves freely. Open the discharge valves fully and confirm the relief valve is fitted. Run on clean water first, watching packing leakage, vibration and noise, then measure the flow against the real back pressure. Always stop the pump and release pressure before opening any pressurised part, and wear goggles and gloves around acids and caustics.
Conclusion
A reliable plunger pump installation comes down to three points: place the pump close to and below the tank, give the packing side room and a proper leakage path, and build a solid base with a relief valve on the discharge. Do those and the pump will usually run quietly at high pressure. You can read more about the LEWA ecoflow plunger pump, compare models under plunger metering pumps, or visit the LEWA brand page. Send us your chemical, pressure, flow and site layout and our team will check your plunger pump installation plan before the concrete is poured.
FAQ
Can a plunger metering pump be installed outdoors?
Yes, with a rain cover and a motor rated for outdoor use. In cold climates, protect the chemical lines and flushing water from freezing.
Is zero packing leakage better?
No. A small, steady drip is normal, and no leakage at all usually means the gland is too tight, which wears the packing and plunger faster.
Can the pump sit above the chemical tank?
It is not recommended. Plunger heads generally need a flooded suction, and a suction lift setup tends to cause cavitation and unstable flow.
How large should the concrete base be?
Size it from the manufacturer's installation drawing. The plinth is typically a little wider than the baseplate on every side, leaving room for grouting and anchoring.
How does plunger pump installation differ from a diaphragm pump?
The main additions are a leakage collection line and service space at the stuffing box. Base requirements are also stricter, while the piping accessories are largely the same.