
Plunger Pump Packing Replacement on a Dosing Skid: Step by Step
Plunger pump packing replacement on a dosing skid follows one order: isolate, depressurize, remove the gland, pull the old rings, cut new rings, install them with staggered joints, tighten evenly and run in. The difference from bench work is that you first take the pump safely out of a live system.
Packing leaks rarely appear overnight. A drip turns into a steady thread over weeks, and once the gland nuts are at the end of their travel and it still leaks, it is time for a plunger pump packing replacement. This guide is written for maintenance technicians working on the skid itself. Valves and other repair topics are left for separate articles.
Before you start: isolate the pump on the skid
Most skids run duty and standby. Switch duty to the standby pump, confirm it is delivering, and only then stop the pump due for plunger pump packing replacement.
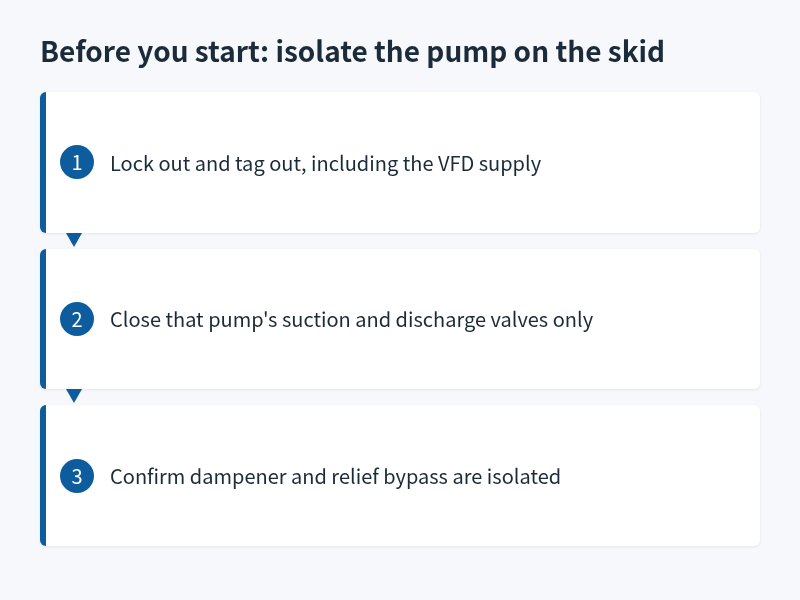
Figure 1: Close only the suction and discharge valves of the pump under repair; leave the common header alone.
- Lock out and tag out the motor supply, including the main circuit on VFD-driven units.
- Close that pump's suction and discharge valves. Leave common header valves alone.
- If the discharge has a pulsation dampener or a relief valve bypass, confirm this pump's branch is fully separated from the header.
Skip this and chemical will spray along the plunger when the gland comes off.
Relieve pressure and drain
With the discharge valve shut, the section between pump head and valve still holds pressure, and a bladder dampener holds it longer. Open the drain on the head or line, catch the liquid in a container, and wait until nothing more comes out.
For corrosive chemicals, flush the head with water or a suitable neutralizing solution and collect that too. Minimum PPE is goggles, chemical gloves and an apron. Good plunger pump packing replacement starts with a dry, depressurized stuffing box.
Remove the gland and pull the old rings
Loosen the gland nuts alternately, never one side all the way first. Once the gland is free, use a packing hook to pull out the rings one by one. If there is a lantern ring, note its position so it goes back in the same place.
Lay the old rings out in order and read them. A polished outer ring with healthy inner rings usually means the gland was too tight. Hard spots or crystals on one ring show the chemical has been precipitating there, so consider flushing or a material that resists crystallization.
Clean the bore of all fragments, then look at the plunger. Scoring, steps or flaking coating will kill new packing quickly, so check our article on packing and plunger wear before you go further.
Cut the new packing
For plunger pump packing replacement, material and ring size come from the manual for that pump model. Do not borrow rings from another pump.
- Wrap the packing around a mandrel the same diameter as the plunger and cut it there, so the length is right.
- Cut each ring with a skive or angled cut. When closed, the ends should meet with no gap and no overlap.
- Cut every ring separately. A continuous spiral pushed in as one piece will leak.
Try each ring on the plunger. If the joint closes naturally, it is ready.
Staggered joints: the core of plunger pump packing replacement
Install one ring at a time and push each one fully home with the gland or a split bushing before adding the next. Stagger the joints of neighboring rings, commonly by about 90 to 180 degrees, so leak paths cannot line up.
Pushing three or four rings in together and then tightening is the classic shortcut. The inner ring never seats, and the leak comes back within days. Most of the quality of a plunger pump packing replacement is decided right here.
Tighten and run in
Refit the gland and run the nuts down by hand until they touch, then snug them a little at a time in a cross pattern so the gland stays square. Do not crush the packing at this stage.
Open suction and discharge, power up and start at short stroke. A slight drip at first is normal while the rings bed in. After a while, hold the back of your hand near the gland. If it is warm rather than hot and the drip is easing, tighten in small steps. A hot gland or a rubbing sound from the plunger means it is too tight, so back off right away.
After run-in, recalibrate flow as the last step of the plunger pump packing replacement with a calibration column, because gland tension changes actual output. The full teardown sequence is in our plunger pump disassembly steps.
Skid-specific traps
Skids make plunger pump packing replacement awkward. Space is tight, and when a wrench will not swing, people often pull the whole head and repack on the bench. If you do, mark the suction and discharge check valves, because reversed valves mean zero output. Standby pumps that sit idle for months tend to have dry, hard packing, so rotate duty regularly. Layout and service space for the whole unit are covered in metering pump dosing skids.
Conclusion
Safe plunger pump packing replacement depends on isolation and pressure relief. Good sealing depends on clean cuts and staggered joints. Long life depends on not crushing the rings during run-in. Follow the sequence of standby switch, isolation, depressurizing, removal, cutting, staggered installation, even tightening and calibration, and most jobs are done right the first time. For packing sets or a replacement plunger metering pump, send the pump model and plunger diameter through our contact page.
FAQ
Is zero leakage the goal after plunger pump packing replacement?
No, zero leakage usually means the gland is too tight. A small controlled drip is typically allowed and protects the plunger.
Should new rings for plunger pump packing replacement be soaked in oil?
Follow the manual for that model. Many materials come pre-impregnated and need no extra treatment.
Can I replace just the outer one or two rings?
It is not recommended. The aged inner rings will leak again soon, so replace the full set.
Flow dropped after repacking. What now?
Check whether the gland is too tight, then recalibrate. If flow is still low, check that the check valves are not reversed.
How often is plunger pump packing replacement needed?
It depends on chemical, pressure and running hours. Judging by leak rate and remaining gland travel is more practical than a fixed interval.