
SEKO Dosing Pump Installation: Injection Valve, Foot Valve, Layout
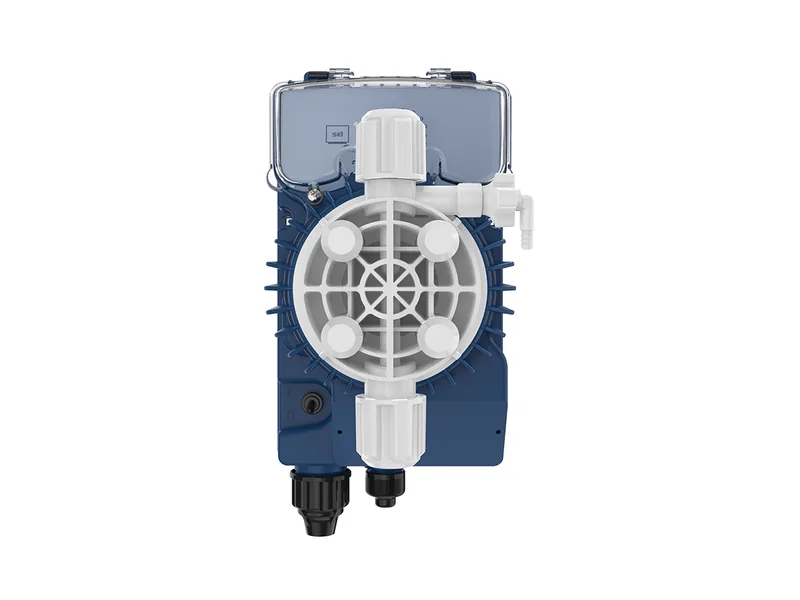
A good SEKO dosing pump installation comes down to four habits: mount the pump low, keep the suction line short, fit the injection valve on the main pipe, and add a back-pressure valve when the line pressure is close to zero. This guide uses the Tekna AKL solenoid diaphragm pump as the example, since it ships with the parts most installers handle every week.
The standard kit with a Tekna pump usually includes a PVDF foot valve with strainer, a PVDF injection valve with G3/8" or G1/2" thread, about 4 m of PVC suction tubing, 2 m of PE discharge tubing and a wall bracket. Put each of those in the right place during SEKO dosing pump installation and most "pump runs but nothing comes out" calls go away.
Choosing the Pump Location
The Tekna housing is rated IP65, so the pump can be wall mounted or set on a bracket next to the chemical tank. The five Tekna sizes share a similar footprint, which helps if you upsize later.
For the SEKO dosing pump installation location, look at three things on site:
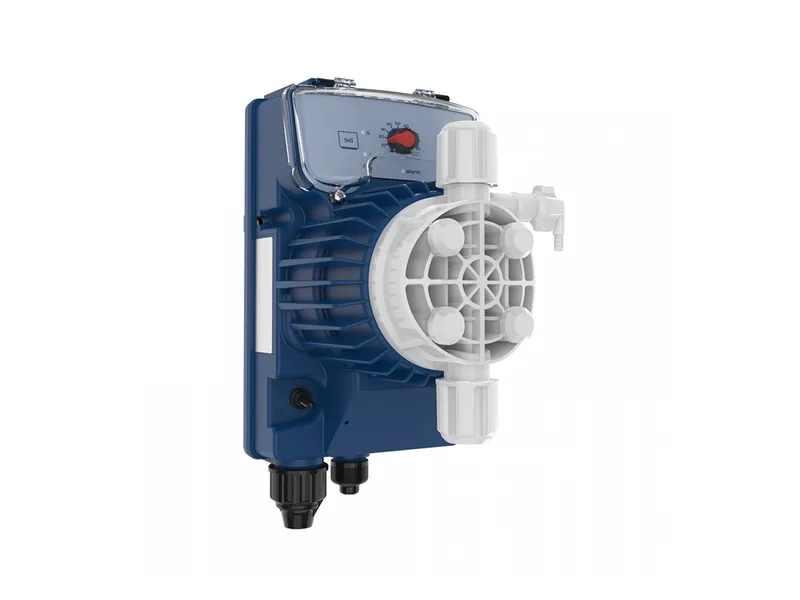
Figure 1: SEKO Tekna AKL dosing pump side view. Image source: SEKO official website
- Flooded suction is preferred. The pump head should sit level with or below the liquid level in the tank, so the chemical flows into the head by gravity.
- Do not mount the pump directly above an open tank of hypochlorite or hydrochloric acid. The fumes rise and attack the electronics over time.
- Leave hand room in front of the pump head for valve and fitting work, and put a drip tray under the discharge side if you can.
In a SEKO dosing pump installation where the pump sits two or three meters above the tank, it will often lose prime after every refill. Self-priming is a feature, but it is not a reason to design for high suction lift.
Suction Side: Foot Valve and Tubing
Most SEKO dosing pump installation faults live on the suction side. A Tekna 803 moves about 3 ml per stroke, so even a small air bubble in the suction tubing cuts the delivered flow in a way you can see on a calibration column.
Setting the SEKO Foot Valve
The foot valve sits at the end of the suction tube with a check ball and a strainer. Stand it upright and keep it a little above the tank floor, so sludge and crystals stay on the bottom instead of jamming the ball. If you use a level probe, set the probe higher than the foot valve so the pump sees a low-level signal before the tank runs dry. More detail is in our article on the metering pump foot valve.
Suction Tubing Tips
Keep the suction tube short and straight, with no loops and no high points where air can collect. The 500 and 600 sizes typically use 4/6 mm tubing on the suction side, while the 803 uses 8/12 mm. Cut the tube square and tighten the compression nut fully. In practice, a pump that will not draw after a SEKO dosing pump installation usually has a loose suction fitting pulling in air.
SEKO Dosing Pump Installation on the Discharge Side
On the discharge side, the key part of a SEKO dosing pump installation is the injection valve, a spring-loaded check valve at the dosing point. It stops process water from flowing back into the pump head and adds a small opening pressure on the discharge side. Prepare a G3/8" or G1/2" tapping on the main pipe to match the valve supplied.
Fit the injection valve into the side or top of the pipe, not the bottom, where scale and debris settle and block the tip. If the chemical tends to crystallize, for example hypochlorite going into hard water, plan to pull the valve and clean it on a regular schedule. Run the PE discharge tube away from heat sources and sharp edges, and clip it in place. You can read more about the role of the metering pump injection valve.
Does a SEKO Dosing Pump Installation Need a Back-Pressure Valve?
When the line pressure is very low, or when the pump doses downhill into an open channel, a solenoid pump can siphon. Chemical flows on its own and the real dose ends up higher than the setting. A back-pressure valve on the discharge line fixes this by giving the pump a steady pressure to work against. SEKO's typical installation layout also shows a multifunction valve, flow meter and priming assist valve, chosen to suit the job.
On a pressurized main, the injection valve plus line pressure is often enough and a separate back-pressure valve can be skipped. Check one more number during the SEKO dosing pump installation: line pressure plus friction loss must stay inside the pump rating. A Tekna 803 delivers 54 L/h at only 0.1 bar, so on a high-pressure line the flow drops quickly.
Pre-Start Checks After SEKO Dosing Pump Installation
Before switching on, walk through this short list:
- Read the nameplate and confirm the supply. On Tekna pumps the N voltage code means 100–240 V, 50–60 Hz.
- Check that suction and discharge fittings are tight and that the injection valve faces the right way.
- Route the discharge tube back to the tank or open the bleed valve, so air in the head has somewhere to go.
- Start at a higher stroke rate to pull chemical up quickly, then turn it down to the working setting once flow is steady.
Isolate power before wiring or opening the pump head, and wear gloves and eye protection with acids and caustics. Power, level probe and external signal wiring are covered in our SEKO dosing pump wiring guide.
Common Rework Points
Most rework after a SEKO dosing pump installation traces back to a short list: suction tubing that is too long or has a high point, a foot valve lying on the tank floor, an injection valve at the bottom of the pipe, no back-pressure valve on a near-atmospheric line, and a pump mounted over an open acid tank. Another one: two pumps discharging into one line with no check valve on each, so they push against each other and the flow swings.
You can compare similar pumps in our solenoid metering pump range, or browse the full SEKO product page.
Conclusion
A reliable SEKO dosing pump installation follows a simple order: pick the location, set the foot valve and suction tube, fit the injection valve, decide on a back-pressure valve from the line pressure, then check the supply and prime. Keep the pump low, the tubing short, the fittings tight and the injection valve off the bottom of the pipe, and a Tekna pump will typically dose on the first start. Send us your line pressure, chemical, dosing point and tank layout through our contact page and we can help match the right accessories.
FAQ
Can a SEKO dosing pump installation put the pump above the tank?
Yes, but it is not ideal. Higher suction lift makes priming harder, and tank fumes can damage the housing over time.
What if the supplied suction tube is too short?
Use tubing with the same inner and outer diameter as the pump fittings. Longer suction lines pick up air more easily, so moving the pump is usually the better fix.
Is the injection valve optional?
It is not recommended to skip it. Without it, process water can flow back into the head and the pump can siphon when stopped.
How do I set the back-pressure valve?
Typically set it slightly above the lowest line pressure and inside the pump rating for the chosen size. Adjust it on site with a pressure gauge.
What should I watch on the first start?
Bleed the air first after the SEKO dosing pump installation, run the pump at a higher stroke rate, and connect the discharge to the line only after chemical flows steadily.