
Dosing Pump Check Valve Repair: Strip, Clean, Replace and Test
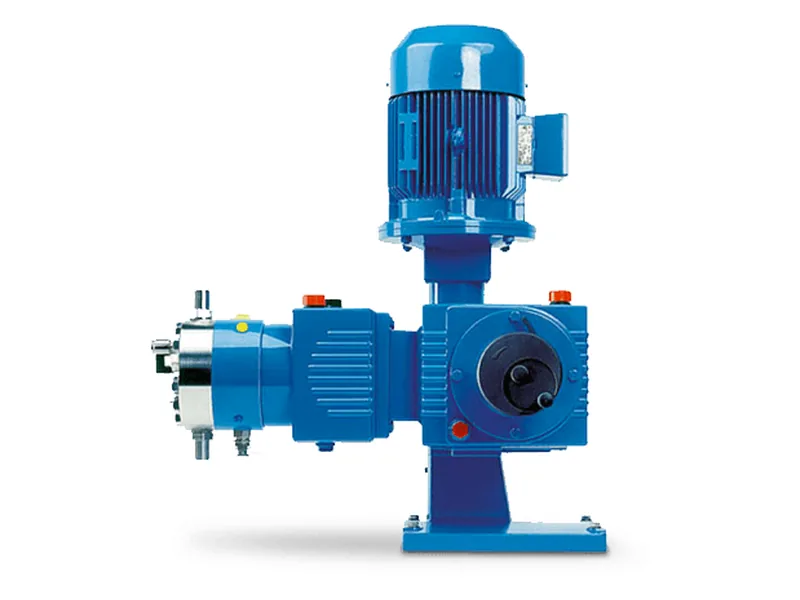
A dosing pump check valve repair comes down to five steps: isolate and depressurize, remove the valve cartridges whole, inspect every part, replace what is worn, then pressure test and recalibrate. The suction and discharge check valves on the pump head are the parts that make a diaphragm or plunger pump meter accurately, and they are usually the first thing to look at when output drifts. This guide is written for maintenance technicians and dosing room supervisors. Valve design and installation direction are covered elsewhere; here we focus on the repair itself.
When a dosing pump check valve repair is needed
Do not start a dosing pump check valve repair at the first sign of trouble. These symptoms point fairly clearly at the valve assemblies:
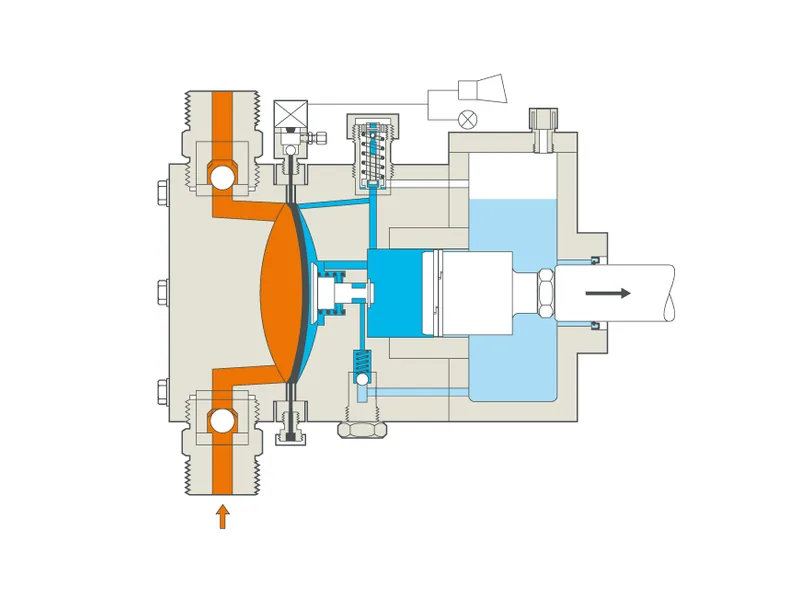
Figure 1: LEWA ecoflow M500 head cross-section. Image source: LEWA official website
- Stroke length and speed are unchanged, but a calibration column test shows clearly less flow than last time.
- The pump primes after bleeding, then output falls away again within minutes.
- Discharge pressure will not build, and the line and back pressure valve check out fine.
- After the pump stops, chemical runs back from the discharge, or the suction tube level drops.
If the suction line is leaking air, the tank is empty or the control signal is missing, new valve parts will not help. Rule those out first.
Before you start: isolate, depressurize, protect
This is where a dosing pump check valve repair most often goes wrong, and shortcuts cause injuries. Most dosing lines have a back pressure valve, so the discharge stays pressurized after the pump stops. Crack a discharge valve open under pressure and chemical will spray.
Stop the pump, lock out power and tag it. Close the suction and discharge isolation valves. Open the head bleed valve or a discharge relief point to bleed off pressure, and put a drip tray under the head. With acid, caustic or sodium hypochlorite, wear goggles, a face shield and chemical-resistant gloves.
Dosing pump check valve repair step by step
Remove each cartridge in one piece
Hold the valve body with a wrench and unscrew the suction and discharge assemblies complete. Take them to a bench before stripping them. Dismantling on the pump lets balls and springs drop into the pipework. Mark the two cartridges and keep suction and discharge parts in separate trays.
Clean by soaking first, brushing second
Crystallizing chemicals such as hypochlorite, lime slurry or PAC typically leave a hard ring on the seat. Soak the parts in clean water or a suitable cleaning solution until the deposit softens, then use a soft brush. Do not use a wire brush or abrasive paper on the sealing face. One scratch across the seat line is enough to cause internal leakage.
Inspect each part
Inspection is the heart of any dosing pump check valve repair. Balls should be smooth and round. Replace any that are rough, pitted or visibly smaller. Ceramic balls rarely break, but check for cracks after a knock.
Seats need a continuous sealing line with no nicks or grooves. A quick bench check: sit the ball on the seat, pour in a little water and watch for seepage.
O-rings and gaskets are generally replaced every time the valve is opened. Hardened or deeply marked seals should not go back in.
Springs, where fitted, should be replaced if bent, corroded or noticeably shorter than new.
Valve ball and seat replacement or a complete cartridge?
If spare parts are available and the body is sound, valve ball and seat replacement plus new seals is enough. Replace the whole check valve cartridge if the threads are damaged, the body is cracked, or the same valve keeps blocking with crystals. Match the original model and materials. PVC, PVDF and 316 stainless bodies are not interchangeable, because chemical resistance differs a lot. Our guide to dosing pump seal replacement covers seal choices in more detail.
For hydraulically actuated diaphragm pumps such as the LEWA ecoflow, valve sets are matched to the pump head size. Give your supplier the nameplate and pump head designation rather than measuring parts yourself.
Refitting the valves
Wipe the valve pocket and head threads clean. Reassemble ball, seat and spring in the order they came out, and seat each O-ring without twisting it.
Do not overtighten. A plastic valve body tightened too hard distorts its threads or seat and leaks. Hand-tight plus a small turn with a wrench is about right unless the manual gives a torque value. Suction valve at the bottom, discharge at the top; check the flow arrows once more before you finish.
Pressure test and recalibrate after the dosing pump check valve repair
Finishing a dosing pump check valve repair without a test is the most common reason for a second callout.
- Open the isolation valves, start the pump and bleed until chemical flows steadily from the discharge.
- Bring the line up to working pressure and check the valve bodies, fittings and head for weeping. Let it run for around 15 to 30 minutes before you judge.
- Measure flow with a calibration column and compare it with the pre-repair record. See our metering pump calibration method for the procedure.
- Record the parts replaced, what you found and the measured flow.
For a wider view of opening the head during a dosing pump check valve repair, see the diaphragm pump disassembly steps.
Common mistakes in dosing pump check valve repair
- Suction and discharge cartridges mixed up on the bench, then refitted the wrong way round, so the pump delivers nothing.
- New balls fitted onto grooved seats, so the internal leak remains.
- The crystallization problem left alone, with no flush after shutdown, so the valves block again within weeks.
Conclusion
A sound dosing pump check valve repair follows a clear order: isolate and bleed off pressure, remove cartridges whole, clean without damaging sealing faces, replace balls, seats and seals as their condition requires, refit at moderate torque, then pressure test and calibrate. For crystallizing chemicals, add a post-shutdown flush to the operating routine. Browse genuine dosing pump accessories and spares or LEWA metering pumps, and send us your pump model and chemical so we can contact our engineers about the right valve set.
FAQ
Is a check valve cartridge the same as a valve set?
Mostly, yes. Suppliers use both terms for the complete suction or discharge valve assembly that screws into the pump head.
Can I fit valve balls in a different material?
It is not a good idea. Ball material must resist the chemical, and its density and size affect how fast the valve closes. Buy to the original specification.
Can a dosing pump check valve repair cover only the discharge side?
You can, but check both. A leaking suction valve also cuts output, and with the pump already isolated it takes only a few extra minutes.
Why is there still air in the head after the repair?
Check that the suction fitting is tight and the O-ring is seated, then bleed again. If air keeps appearing, look for a leak on the suction line.
How often does a dosing pump check valve repair need doing?
It depends on the chemical and running hours. Crystallizing or abrasive fluids need shorter intervals than clean water-like chemicals. Plan the work from calibration trends rather than a fixed calendar.