
Dosing Line Pressure Test: Flushing, Hydrotest and Leak Checks
A dosing line pressure test is the last check before any chemical goes into a new skid, and it should always be done with clean water in three stages: flush, hydrotest and leak check, then a wet run with the pump. On paper it is usually one line in the method statement. On site it is where most rework comes from: weeping unions, weld slag stuck in a check valve, and test water left in a sulfuric acid line. This guide is for installers, site supervisors and commissioning engineers, and it only covers the window between finished piping and first chemical fill. For the full skid installation sequence, see our PAC dosing system installation guide.
Before the Dosing Line Pressure Test
Finished piping is not the same as ready-to-test piping. Walk the line against the drawing first. Are all pipe supports fixed? Is every pipe and fitting rated for the maximum system pressure? Is each valve clearly tagged open or closed?
Solvent-welded PVC and UPVC joints need full cure time before any pressure goes on them. Follow the cement manufacturer's instructions. Rushing a dosing line pressure test to save half a day is the fastest way to blow a joint apart.
Isolate anything rated below the test pressure. That usually means the metering pump head, pressure gauges, pulsation dampener, inline instruments and the injection valve. Valve them off, or remove them and fit blanking plugs. The dampener is the one people forget, and a burst bladder often goes unnoticed until commissioning.
Test pressure and hold time should come from the design documents and the applicable piping code. They are typically higher than the working pressure. Write the values and their source into the method statement instead of deciding on the day.
Flush First, Then Pressurize
Do not reverse this order. The NEWDOSE mechanical pump manual states that burrs, sharp edges and debris must be removed from the piping before it is connected. Flush from the tank outlet toward the injection point and drain at the far end, never back through the pump head.
What does a clean flush look like? Clear water with no visible particles. Stainless lines carry weld slag, and plastic lines carry cutting shavings. Either one will seat itself under a valve ball the moment the pump starts. Pull and clean the Y-strainer screen after flushing. It is common to find a handful of debris in it.
Filling, Venting and Raising Pressure
For the dosing line pressure test itself, use a hand or electric hydrotest pump. Fill from the low point and open the vent at the high point. Close the vent only when water runs out steadily with no bubbles. Trapped air makes the gauge drift and hides small leaks.
Raise the pressure in stages. Stop partway, walk the line, then continue. At the test pressure, hold for the specified time and watch the gauge for any drop. Then reduce to working pressure and check each joint by hand and eye.
Some crews skip the test pump and dead-head the metering pump instead. We advise against it. A metering pump is a positive displacement pump, so with the outlet closed the pressure keeps climbing until something gives. Relying on the relief valve to catch it is risky, and you cannot control the test pressure accurately anyway.
Where Leaks Usually Show Up
During a dosing line pressure test, leaks generally cluster in a few places:
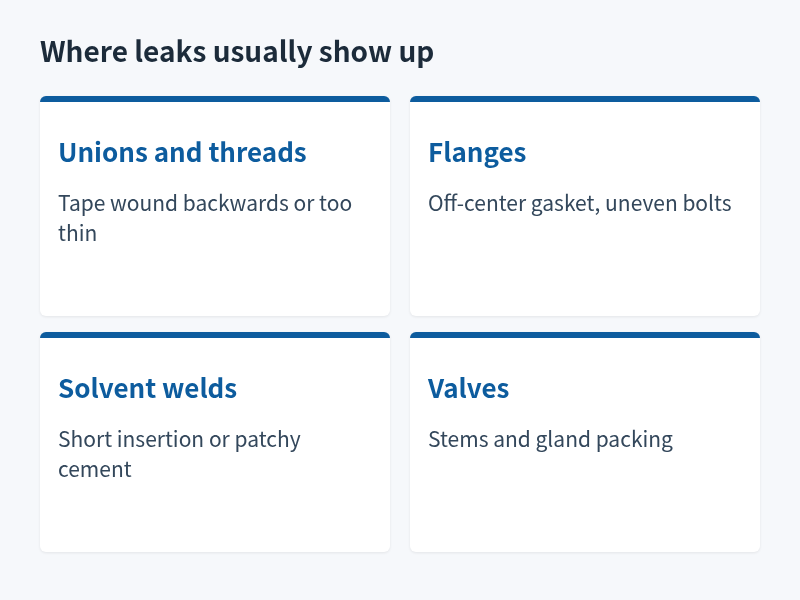
Figure 1: Flush before pressurizing, and drain the flush water at the far end rather than through the pump head.
- Unions and threaded joints with PTFE tape wrapped the wrong way or too thin.
- Flanges with an off-center gasket or bolts not tightened in a cross pattern.
- Solvent-welded joints with short insertion depth or patchy cement.
- Valve stems and gland packing.
When you find a leak, depressurize and drain before touching it. Never tighten a fitting or open a flange under pressure. After the repair, repeat the whole dosing line pressure test from the start rather than retesting only the repaired section.
Wet Run With the Pump
Once the dosing line pressure test passes, refit the pump head, dampener and instruments. Fill the tank with clean water and run the metering pump. This step tests the system rather than the pipe. Does the back pressure valve hold steady? Is the relief valve setting sensible? Is the injection valve clear? Is flow normal at full stroke?
Do one flow check with a calibration column or measuring cylinder and record it. When you switch to chemical later, the comparison shows how much the fluid's viscosity changes the output. Our solenoid metering pump commissioning guide covers first start-up in detail.
Draining and Drying After the Test
After the dosing line pressure test, drain the water from every low point and blow the line out with compressed air if needed. Outdoor lines left full in winter can freeze and crack.
Concentrated sulfuric acid lines need extra care. Strong sulfuric acid releases a lot of heat when it meets water, and diluted acid attacks carbon steel faster than the concentrated product. These lines must be dried after testing, or tested with a different medium if the design calls for it. Sodium hypochlorite and PAC lines tolerate a little residual water, but draining before the first fill is still good practice.
Recording the Results
A dosing line pressure test record should include the test pressure and its basis, hold time, who witnessed it, which equipment was isolated, any leaks and how they were fixed, the flushing result and the wet-run flow reading. These records matter at handover, and they make troubleshooting much easier later.
Conclusion
A sound dosing line pressure test follows one order: isolate low-rated equipment, flush, fill and vent, pressurize in stages and hold, check joints at working pressure, wet-run the pump, then drain and dry. Take test values from the design and the code, never work on a joint under pressure, and always dry concentrated sulfuric acid lines. If you are unsure where accessories sit, check the metering pump installation diagram. Back pressure and relief valves are on our dosing accessories page, and complete skids are on the dosing skid page. Send us your system pressure, chemical and pipe material, and contact our team to review your test plan.
FAQ
Can I run the dosing line pressure test with chemical instead of water?
No. Always use clean water first. A water leak hurts nobody and does not corrode the skid.
Should the metering pump stay connected during the test?
Usually not. The pump head and dampener have limited pressure ratings, and the test pressure may exceed them.
The pressure drops slowly during the hold. Is it leaking?
Check for trapped air and temperature change first. If the gauge still falls, inspect each joint in turn.
Can flushing water pass through the pump head?
It is better to avoid it. Debris can lodge between the valve ball and seat, so isolate the pump while flushing.
How often should a dosing line pressure test be done?
After new installation and after any major pipe change. Routine operation does not need it, but any section with replaced fittings should be retested.