
Dosing Pump Fuse Replacement: Where It Is and How to Swap It
The display is dead. The breaker has not tripped and the outlet is live. Nine times out of ten the next thought is the fuse. A dosing pump fuse replacement is usually a short job, but two questions come first: does this model have a user-replaceable fuse at all, and why did it blow?
Does your solenoid pump have a fuse?
Solenoid metering pumps differ a lot here. In practice you will meet three designs:
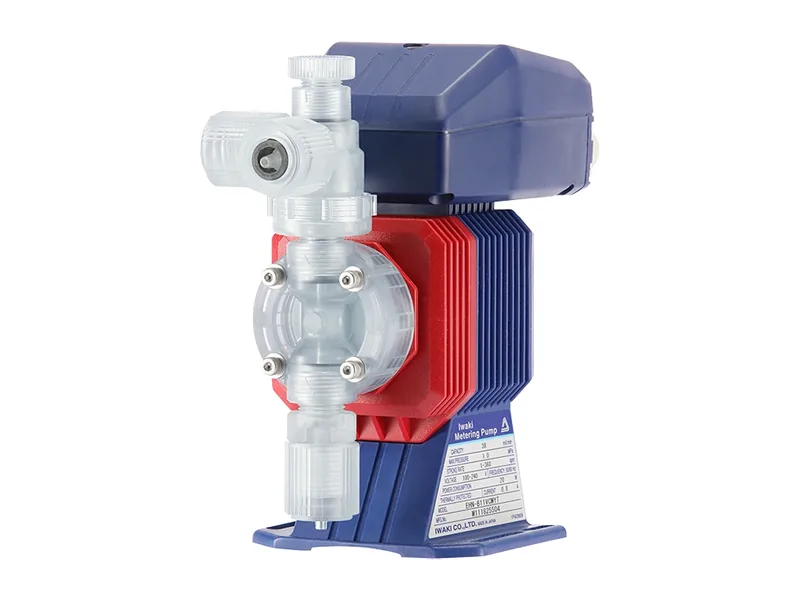
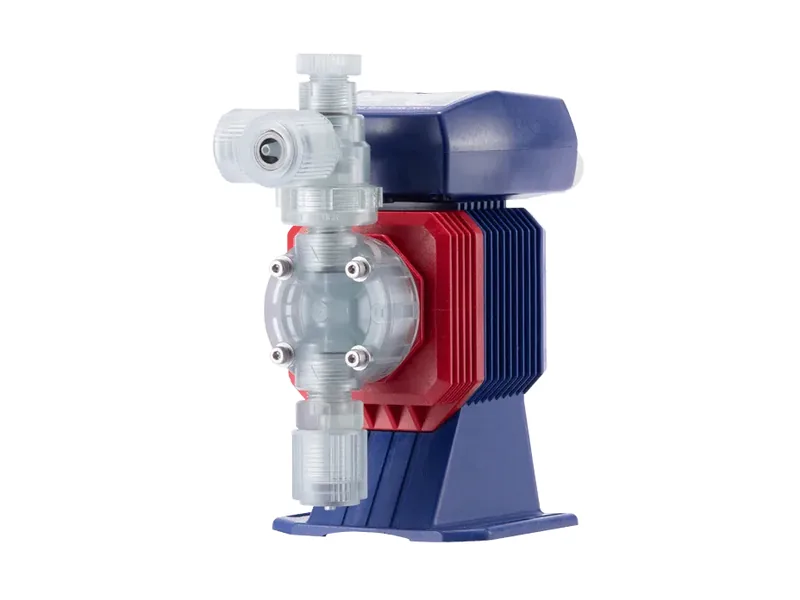
Figure 1: IWAKI EHN-YN solenoid metering pump. Image source: IWAKI official website
- A fuse holder on the power board, reachable once you open the terminal cover or front panel. Dosing pump fuse replacement on these is a field job.
- A fuse soldered onto the circuit board. It exists, but it is not meant to be changed by the user, so the board goes back for service.
- No internal user fuse. Protection comes from the external breaker or fuse in the supply line.
So before any dosing pump fuse replacement, check the manual for your exact model or ask the supplier. Do not open the housing on a guess. Pumps such as the IWAKI EHN series have clear supply and protection requirements in their manuals, and following those is the safest route.
How to tell the fuse has blown
A blown fuse usually looks like this:
- The display is completely blank and no indicator is lit.
- You measure normal voltage at the supply terminals.
- The external breaker has not tripped and the wiring is tight.
If the display works but the pump does not stroke, the fuse is rarely the cause. Look at the coil or the drive circuit instead, and skip the dosing pump fuse replacement for now.
Safe order of work before you open the pump
Follow this sequence for every dosing pump fuse replacement:
- Isolate the power, lock it out, tag it and prove it dead.
- Wait a few minutes so the capacitors on the board can discharge.
- Close the suction and discharge valves and relieve pressure in the pump head, so no chemical sprays out when you handle the pump.
- Wipe the housing dry before the dosing pump fuse replacement, especially around the terminal box, so no water or chemical drips inside.
- Open the terminal cover or panel as the manual describes and locate the fuse holder.
- Remove the fuse and check it by eye or with a multimeter on continuity.
- Read what the fuse tells you. A thin wire simply broken often means a one-off overcurrent. A blackened or shattered glass tube points to a hard short.
Watch the gasket on the cover. Refit it in the same position, or the enclosure rating drops and moisture gets in later.
Reading the fuse markings
Most solenoid metering pump fuses are 5×20 mm or 6.3×32 mm glass or ceramic tubes, with a code printed on the end cap. Read it carefully before any dosing pump fuse replacement:
- T means time-delay (slow-blow). F means fast-acting. A solenoid pump draws an inrush current on every stroke, so most use slow-blow types. A fast fuse may blow the moment you power up.
- The number after the letter is the rated current, for example T1A or T2A.
- The last figure is the voltage rating, such as 250V.
Say the old fuse reads T1.6A 250V. You need a slow-blow, 1.6 A, 250 V part in the same body size. If the print is worn off, order from the spare parts list in the manual.
How to do the dosing pump fuse replacement
- Match the rating exactly: current, voltage, breaking characteristic and size must be the same as the original.
- Do not go bigger. A higher-rated fuse, or a piece of wire bridging the holder, turns the next fault into a burnt board or a fire.
- Test the dosing pump fuse replacement before you load it. Close the cover, power up, confirm the display, then run a few strokes.
A careful dosing pump fuse replacement takes ten minutes. Rushing it, with a wet terminal box or a wrong part, is how a cheap fault becomes an expensive one.
When the new fuse blows straight away
If the new fuse blows at once, something behind it is shorted. Stop there and do not fit fuse after fuse. Typical causes:
- A varistor or bridge rectifier in the supply stage punctured by a surge.
- A coil with shorted turns or broken insulation to the housing.
- A circuit board with moisture or corrosion bridging tracks.
At this point measure the coil resistance and insulation, inspect the board, or send the pump for service. Check the connections against our solenoid metering pump wiring guide too. A second dosing pump fuse replacement will not fix a short.
Why fuses blow in the first place
The fuse is the symptom. Find the cause or you will be doing another dosing pump fuse replacement next week:
- Lightning or grid surges, common on outdoor pumps and in plants with unstable supply.
- Wrong supply voltage, for example a low-voltage model wired to a higher supply.
- Moisture, when the terminal box seal fails and rain or chemical seeps in.
- Frequent power cycling, since every power-up brings an inrush.
- Ageing components in pumps that have run for many years.
External protection that saves fuses
Whether or not the pump has an internal fuse, set up the supply side properly:
- Give each pump its own breaker or fuse. Sharing one between several pumps means one fault stops them all.
- Add surge protection on outdoor installations or in areas with frequent storms.
- Keep the earth connection in place and do not skip the ground wire.
- Start and stop the pump with an external signal rather than by switching the power.
For IWAKI terminals and external signals, see IWAKI metering pump wiring. Good supply-side protection means far fewer calls for dosing pump fuse replacement.
Still no display after the swap?
If the fuse tests fine, or the dosing pump fuse replacement holds but the screen stays dark, keep going:
- Check the power cord and plug for damage.
- Check the terminals for poor contact or corrosion.
- Look for burnt components on the power board.
If the display comes on but shows an alarm, our IWAKI pump error codes page helps narrow it down.
Conclusion
Whether a pump has a fuse, and where it sits, depends on the model, so read the manual before you pick up a screwdriver. Once the fuse is the likely cause, isolate, discharge, relieve pressure and dry the housing, then open the terminal box. Every dosing pump fuse replacement must use the original rating, not a larger fuse or a wire bridge. A fuse that blows again at once means a short in the coil or board. Separate breakers, surge protection and a solid earth prevent most blown fuses.
Need fuses, power boards or a repair for your solenoid pump? Contact us.
FAQ
Does a blank display mean the fuse has blown?
Not by itself. It can also be the supply, a loose terminal or the power board. Measure the voltage first.
Can I fit a fuse with a higher rating?
No. It removes the protection, and the next fault may burn the circuit board.
Can I replace a fuse soldered onto the board?
It is not recommended. Poor soldering can damage the board, so send it for service.
Do I need to depressurize the pump head first?
Yes. Close the valves and relieve pressure so no chemical sprays out, and dry the housing before opening it.
Should every pump have its own breaker?
It is the better setup. One fault will not stop the other pumps, and fault finding is quicker.